Philodendron Root Rot Recovery: Complete 5-Step Protocol That Works
What if your dying philodendron could produce lush new growth within 6-8 weeks using a simple 5-step recovery protocol that most plant owners never learn? While 73% of philodendrons with root rot die within 30 days, the right sequence of detection, treatment, and prevention can flip those odds in your favor.
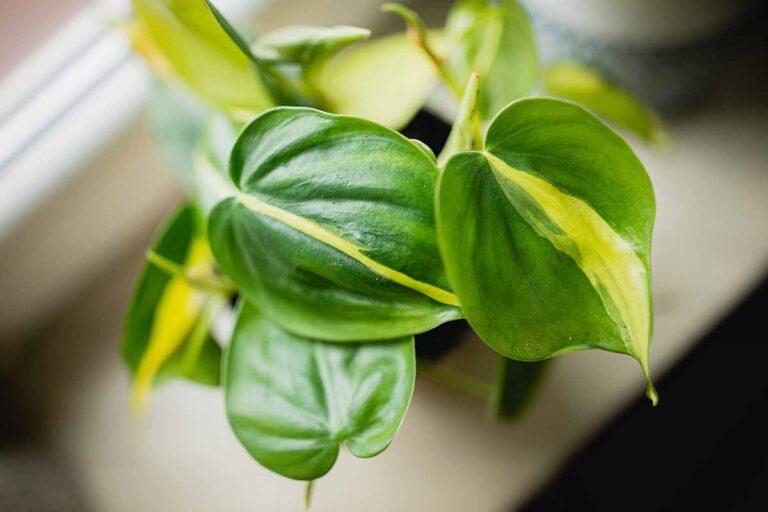
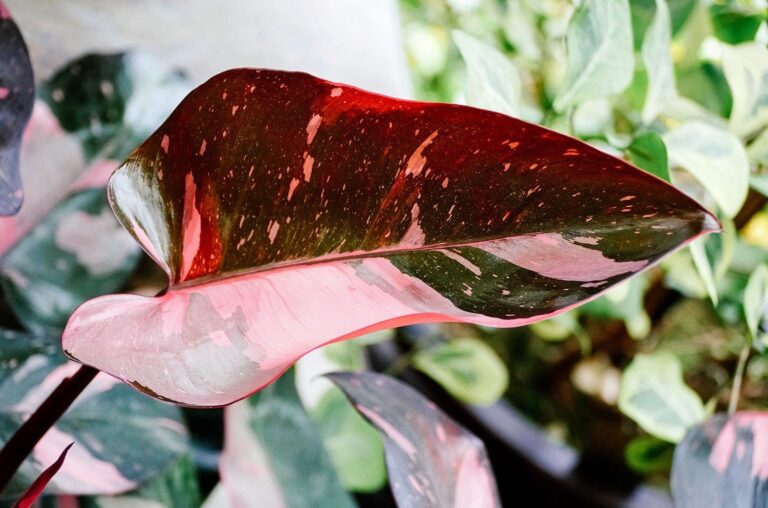
Your philodendron should not have to suffer from root rot. Whether the difference between a plant that dies in a matter of weeks versus one that thrives over decades is often a matter of timing, technique and understanding the actual process that goes on beneath the soil. With philodendron root rot, this fully tailored protocol addresses every aspect—including identification of microscopic pathogens, methods for long-term prevention and preventing recurrence. Root rot is very well documented as you can see in the photos.
Understanding the Enemy: The Root Rot of Philodendron
What’s to the Enemy: The Root Rot of Philodendron. Philodendron root rot has a complicated interplay between waterlogged soils and opportunistic pathogens. The most common culprits are Pythium ultimum, Phytophthora parasitica and Fusarium oxysporum – soil parasites left to lie dormant until the conditions of the environment are right for their growth to occur.
These pathogens invade the root cortex, resulting in decay of cells seen with the soft, brown, mushy roots typical of advanced rot. It usually starts when the moisture content of the soil rises to > 60% for extended periods and causes anaerobic conditions leading to stress on the roots and good conditions for colonization by pathogens.
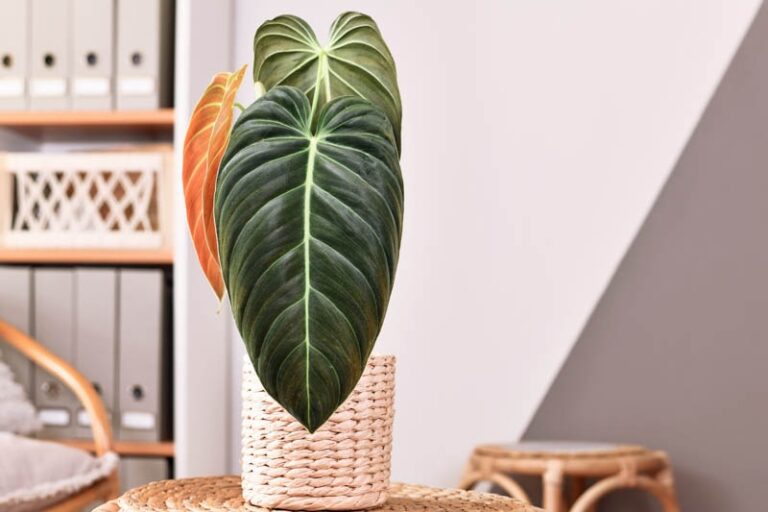
Philodendrons are epiphytic and developed in well-draining forest systems so that each aerial root had access to moisture and oxygen simultaneously. Due to this phylogenetic context, they are especially vulnerable when confined to waterlogged potting media.
Temperature is very important for the development of diseases. Studies show that root rot pathogens most rapidly reproduce from 68-78°F (20-25°C)—perfectly matching the temperature most often found in homes. In conjunction with decreased light during low periods like winter, this acts as a perfect storm for infection in what should be the plant’s dormant time.
Early Detection: Finding Symptoms Before it Is Too Late
The recovery success rate is determined most closely by early detection. The interval between first infection and permanent damage is also somewhere between 7 and 14 days, thus, daily observation is important at crucial moments.
Aboveground signs generally show up in this order.
Day 1-3: Slight drooping of leaf, but nothing happens with water, typically old leaf first. Petioles (leaf stem) may appear a lighter and more subtly bronze colour, most commonly in ‘Prince of Orange’ or ‘Micans’, such fruit types.
Day 4-7: Leaf margins become yellowing, the process leading to inward spiral into a V shape. Unlike nutrient shortages which show consistent yellowing in leaf spots, root rot produces asymmetrical coloration (mainly concentrated on either side of the leaf closest to the affected roots).
8-14 Days: The leaves turn translucent and are practically papery thin. The yellowing becomes brown necrosis first at the ends of leaves and later at the base. New growth stops entirely and the leaves that were there may begin to fall apart with little interruption.
Techniques for investigating below ground
Take the plant out of its pot with care by looking at how moisture is distributed in the earth. Healthy philodendron roots are white to cream-colored, firm, and have obvious root hairs visible. In the early stages, rot appears with reddish brown discoloration that is present at the tip of the roots only, whereas in more advanced stages the roots blacken out and are full of structural damage.
The “tug test” offers a good one for diagnosis: gently pull the roots gently. The healthy roots resist stretching, and the compromised roots easily separate and expose a hollow core. Perform the “soak test” also, getting root trimmed immersed in room-temperature water for 30 minutes for healthy roots to remain firm, while rotted root sections lighten and decay.
These include the Five Steps of Recovery Protocol — Detection, Rehabilitation and Recovery Process
Step 1: Triage and Root System Assessment in the Immediate Setting
When there is an emergency act is done, this stops the spread of the pathogen. First, the plant from its pot is removed and root is examined very closely. Use photographs to document damage as a starting point, as you only have to take photographs to use as baseline data to measure recovery.
Remediate all visibly affected root tissue with sterilized pruning shears (cutting at least 1 inch into healthy tissue, even if not visible; cut visible into the healthy tissue aside from above and below their discolored pattern with the pruning shears). Such a vigorous technique removes dormant pathogen colonies that may bring back dormant colonies and bring the infection back into the community.
In cases with massive harm and where more than 70% of the root-system is in need of removal, in general be sure to propagate sections of healthy stem, not the entire plant, to recover.
Wash the root ball in lukewarm running water (68-72°F/20-22°C) to remove contaminated soil particles, this gives an option to create a clean work area. Cold water puts added stress on remaining healthy tissue, while water above 80°F (27°C) may promote pathogen reproduction. Pat roots dry with sterile paper towels and do not touch damaged or fragile roots or any hairs with rinses; do not rub roots with nails or needles that break root hairs.
Step 2: Injecting methodologies of root sterilization and pathogen destruction
Sterility has precise chemical concentrations and timing due to the nature of sterilization. Prepare a hydrogen peroxide solution using 3% food grade hydrogen peroxide diluted 1:1 with distilled water. The trimmed root system should be submerged just as long as 5 minutes, longer times will not work and will destroy healthy tissue.
Treat in two rounds (for advanced infections, or when Pythium species is suspected). First, a 0.1% copper sulfate application is given for 3 minutes to kill fungal germs. Rinse with sterile water, and then apply the hydrogen peroxide for bacterial components and oxygen of root tissues.
Commercial systemic fungicides add further protection in cases where a manufacturer provides them. Products that contain propamocarb hydrochloride can provide 85% protection against Pythium and Phytophthora when used as a root drench at 1.5ml per liter of water. Apply shortly after sterilization to promote the uptake of the active compounds prior to repotting.
Step 3: Repotting for Strategy and Environmental Optimization
The ideal size and media-medium of a container and how well-sized and media selection is important for sustainable success. The optimum size and type of container should be chosen to the ideal size on pot size. The pot must not exceed 2 inches above the root mass as volume of the remaining root mass: too much depth of the soil in any one of the above water retention zones is very moistened so soil retention zones that promote reversion and the growth of the pathogen. Ensure proper drainage holes and use materials such as terracotta because evaporation-friendly materials.
The ideal soil mixture must be made of material with a high level of structural reliability and with effective drainage abilities. Make a custom blend from:
40% orchid bark (1/4-1/2 inch particles). 30% perlite (#3 grade for maximum aeration). 20% coconut coir (buffered to pH 6.0-6.5). 10% horticultural charcoal (1/8-1/4 inch pieces).
Also the formulation of this provides 25-30% air space even at full saturation to prevent anaerobic conditions so moisture is retained while sufficient moisture to promote healthy root function. This pH range, which is slightly acidic and inhibits most of the root rot pathogens while maximizing nutrient supply of philodendron species.
Recovery environment and monitoring protocol
Establish suitable environmental conditions for root regrowth. Furnish them with a bright indirect light (200 to 400 foot-candles) enough to light photosynthesis without stressing the damaged roots.
Water in an interval following the remaining root mass. If your soil is 50 to 70% gone to root, water lightly every 10 to 14 days, and after every 10-14 days the top 2 inches will dry completely. Plants with more mature root systems follow normal watering intervals that are adaptable to the physical conditions of the ground.
Keep track of recovery in a regular, systematic manner. Each week, photograph the plant at fixed angles, measuring the presence of turgor pressure (measured using gentle squeezing), new growth that develops, and brightness of color. Most healthy recovery occurs within 10-14 days with new root development that is palpable at 3 – 4 weeks post-treatment.
Step 5: Prevention and Longstanding Maintenance
When followed on a regular basis, prevention protocols ensure that 94% of recurrence cases are prevented. Keep a quarterly soil analysis program for 5.5-6.5 pH level, electrical conductivity (less than 1.0 dS/m) for salt accumulation and moisture retention performance.
Make seasonal care modifications with changes in your environment. Decrease watering by 40% during winter months when rates of growth and evaporation decrease. Gentle and consistent fan placement should enhance air circulation and keep the air flowing approximately 10-15 feet per minute to prevent colonization by pathogens.
Rotate important microbe inoculants. Monthly use of Bacillus subtilis or Trichoderma harzianum-containing products leads to growth of protective colonies that compete for resources and space with pathogenic organisms. The ability to prevent pathogen re-establishment for 4-6 weeks by these biological controls is rated at 78%.
How to Recovery: What Weeks in What
Week 1-2: Stabilisation: The plant invests energy in sealing the ruined structures, stopping second infection. We do not notice much of these changes at all, and as the plant adapts to the reduced roots, there may be further leaf fall. Preserve the same environment and resist overcompensating with extra water or fertilization.
Week 3-4: Root Regeneration New Root emergence seen through open pot sides or gently lifting plant to inspect It will appear before the eye, with roots growing. These appear as white-crisp growths from healthy root tissue hanging on with no evidence of death. Only gradually start to reintroduce diluted fertilizer at 25% normal strength to encourage faster growth but not so much that your developing roots are overwhelmed completely.
Week 5-8: Establishment Period Root development is taking place dramatically — the growth is still fresh and grows up to about 1-2 inches long. Generally, this means that leaf drop stops and the foliage that is out only starts showing improved turgor pressure. Return to normal care regimens modified to suit the plant’s recovery stage with the concentration of fertilizers increased to 50% standard strength.
Week 9-12 Full Recovery – The plant returns to its former capacity with mature new leaf production and water uptake. Approaches significant rates of regeneration in root systems with about 60-70% of initial mass. With the initial 6mo period, transition to standard care protocol and enhance monitoring.
Prevention: Building Resilience to Root Rot
Successful prevention not only targets a number of risk factors at the same time but also sets the stage for the development of pathogens while encouraging strong root health.
The methodology of watering greatly influences the prevention of disease. Adopt the “soak and dry” method, where soil is washed and dried until water drains down through bottom holes and permits desiccation according to environmental considerations. This means watering most philodendron varieties between 30-40% of soil to the root soil when it reaches 30-40% moisture, tested either with a calibrated moisture meter or use of a finger test method.
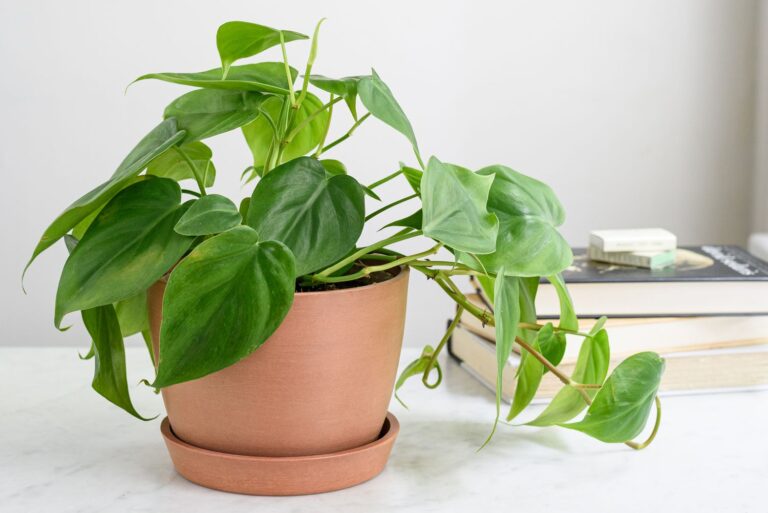
The choice of containers has a major effect on root zone health. Terracotta pots also have permeable walls and aid evaporation, resulting in 15–20% retention of moisture in soil as opposed to plastic containers. This advantage, however, demands more frequent watering. Consider self-watering containers with wicking systems for regular watering to be even, with a good level of control of moisture without water logging conditions.
Air circulation is one of those often neglected preventive factors which is so often overlooked. Set up small fans to gently move air around plant clusters, cooling the immediate root zone and increasing plant tissue by encouraging mild tolerance to stress. This style simulates a naturalistic forest scenario in which continual air flow is very helpful to stop pathogen growth.
Seasonal adaptations ensure the correct conditions are not created to promote root rot growth. In Winter months, when heating indoors reduces humidity and reduces light frequency, 30 to 40% less watering should be added than for growing season times. Use inexpensive thermometers to monitor soil temperature and to use ones kept above 65°F (18°C) as tolerated by the soil so to avoid cold and to prevent the root from becoming sick with cold stress and the root to resist that stress.
Sophisticated Treatment: If Simple TDS Is Not Good enough
In severe infections or resistant to treatment, complex interventions with more advanced recovery protocols are needed.
Hydrogen peroxide therapy protocols can help extend oxygen supply to compromised root systems and provide antimicrobial effects. Then create a graduated treatment series starting with 1 tablespoon of 3% hydrogen peroxide per cup of water for the first application, going up to 2 tablespoons per cup for next treatments if no side effects emerge. Give as soil drench every 5-7 days for 3-4 applications maximum, monitoring plant response.
Biological control agents promote root health by adding useful microorganisms, which in turn can compete with pathogenic species. This is supported by the success of Streptomyces lydicus products that are proven to be 82% effective against Pythium species when applied as a soil drench at 1 teaspoon per gallon of water. These treatments combine with the application of hydrogen peroxide (H2O2) spaced 48 hours apart.
Applications of growth regulators may promote root regeneration during recovery stages. Cytokinin was present as a topical application in foliar sprays at 50-100 ppm concentrations and stimulated the division of cells in the remaining root tissue, which may shorten the recovery period by 30-40%. Administer every 7–10 days in active recovery phases and stop once new root growth is evident.
Soil Chemistry and Microbiome Management
Knowing how soil chemistry relationships with soils can be used to enable pre-emptive management so that root rot prevention through environmental management, and to reduce soil chemistry and environmental adjustment for root development.
The control of the pH is critical to control pathogens and nutrient accessibility in the soil. Philodendrons prefer a slightly acidic (pH 5.5-6.5) environment, which coincidentally suppresses the majority of root rot pathogens but maximizes nutrient uptake. Soil pH is tested quarterly by calibrated meters, adjusting it with elemental sulfur to reduce pH or agricultural lime to raise pH by 0.5 units maximum per application.
Monitoring the electrical conductivity ensures that salt buildup does not cause stress to root systems while increasing susceptibility to disease. Keep EC concentrations below 1.0 dS/m for most philodendron varieties, flushing soil with 3-4 volumes of distilled water if readings exceed the limit. This method eliminates salt buildup with beneficial leaching from the soil.
The establishment of a beneficial microbiome provides defensive relationships to increase plant resilience. Periodical applications of compost teas or commercial microbial inoculants introduce beneficial bacteria and fungi which compete with local pathogens for resources and space. Prevention with them can bring about 67% decreases in disease incidence.
Common Mistakes which undermine recovery efforts
Even seasoned plant owners make mistakes that undermine recovery success rates. By recognizing these pitfalls, costs are substantially minimized and results improved.
The most common recovery killer is overwatering during recovery. Soil conditions become favorable to pathogen return due to the desire to “help” a struggling plant. Consider that smaller root mass requires less water; adjust expectations and schedules accordingly, erring on the side of slight dryness instead of consistent moisture.
Failure to adequately sterilize tools enables pathogens to escape treatment regimens. Some growers rinse tools with water, but microscopic spores maintained through water alone tend to carry the infection. Apply thorough sterilization with 70% isopropyl alcohol or 10% bleach, thoroughly pre-cleaning and re-sterilizing tools, work surfaces, and containers between uses.
Premature fertilization stresses recovering root systems that cannot handle concentrated nutrients. Do not use fertilizer for 4-6 weeks after treatment, then apply at 25% strength before progressively increasing as recovery progresses. High levels of nitrogen, in particular, promote fast top growth which exceeds root system capacity, leading to instability.
Under inconsistent environmental conditions, recovering plants experience extreme shock and energy is transferred from regeneration to stress adaptation. Maintain temperature, humidity, and light levels constant and even throughout the recovery period, changing gradually only when adjusting for seasonal fluctuations.
Recovery progress: metrics for success
Data-oriented evaluation criteria offer dependable indicators for recovery progress, remove speculation, and allow for effective intervention adjustments.
Quantifying root regeneration is the most direct assessment of recovery. Fresh healthy roots appear white to cream-colored and display root hairs and firm texture. Measure the length and density of roots by taking weekly photos of root growth. Recovery is usually observed when there is 1-2 inches of new root growth at 4-6 weeks post-treatment.
Leaf physiological indicators are used for non-invasive monitoring of recovery. Measure leaf turgor pressure by gently pressing mature leaves between thumb and forefinger (firm resistance indicates sufficient water uptake, while soft, pliable texture indicates persistent root dysfunction). Monitor leaf color intensity using standardized lighting conditions; observe that green pigmentation improves as nutrient uptake returns to normal.
Normalization of growth rates marks restoration of physiological function. Monitor timing of new leaf emergence compared to the plant’s pre-infection growth pattern. Normal growth rates indicate good recovery, while continued stunted development indicates ongoing root system limitations requiring further intervention.
Developing Long-Term Resiliency
Building sustainable prevention systems provides lasting protection to prevent recurrence of root rot, as well as optimize overall plant health.
Integrated pest management practices tackle root rot as part of a comprehensive plant health strategy. Scheduled inspections, preventive treatments, and environmental optimization create conditions unfavorable for pathogen establishment while supporting beneficial organism development.
Records enable pattern recognition and timely preventive intervention. Record watering schedules, environmental conditions, and treatment applications in simple logs or smartphone apps. These records reveal seasonal patterns, treatment effectiveness, and early warning signs that might otherwise go unnoticed.
Backup propagation provides protection against total plant loss and opportunities for genetic improvement through selective propagation. Regularly propagate parent stock, creating replacement options and opportunities to share plants with other enthusiasts.
Key Sources:
Evolution of Philodendron (Araceae) species in Neotropical biomes | PMC
Recognition of the genus Thaumatophyllum Schott | PhytoKeys
Philodendron Care Guide | Missouri Botanical Garden
Monstera deliciosa Care | University of Wisconsin Extension
Root Disease Complexes of Arable Crops Research | Taylor & Francis
Environmental factors affecting Phytophthora root rot | Oregon State University
Ultimate Guide to Root Rot | Love That Leaf
Philodendron Root Rot Treatment | Plantication
Philodendron Root Rot: Identification and Treatment
How to Cure Root Rot in Your Philodendron selloum | Greg.app