Philodendron Melanochrysum Velvet Leaf Care: Ultimate Expert Guide
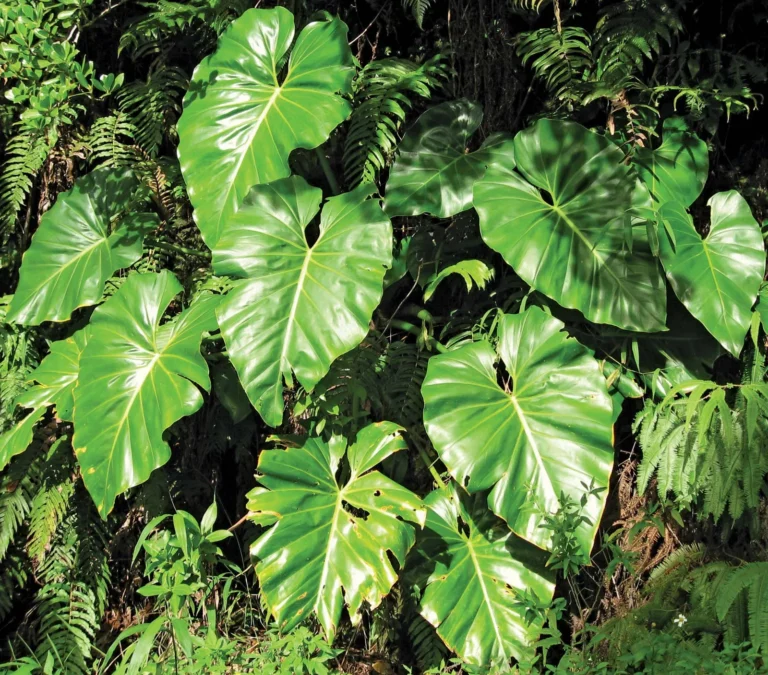
Picture rubbing your fingers gently over luxurious-colored leaves so velvety they resemble expensive suede, golden veins that glimmer against a thick emerald foliage that spans nearly two feet. This is not a daydream, but the reality sitting ready to give you great care with proper Philodendron Melanochrysum care. The difference between mediocre and magnificent growth comes not from expensive machinery, but a sensitivity to those exact environmental cues that change common houseplants into spectacular specimens.
Understanding the Velvet Phenomenon: Why Texture Matters
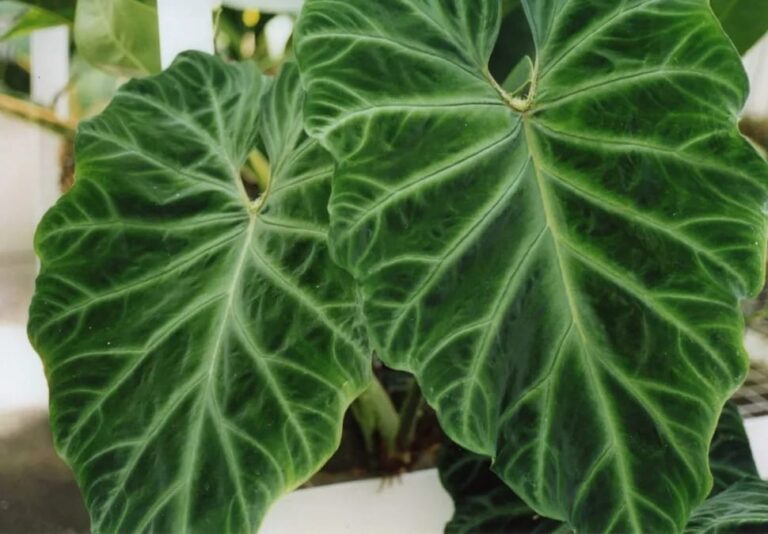
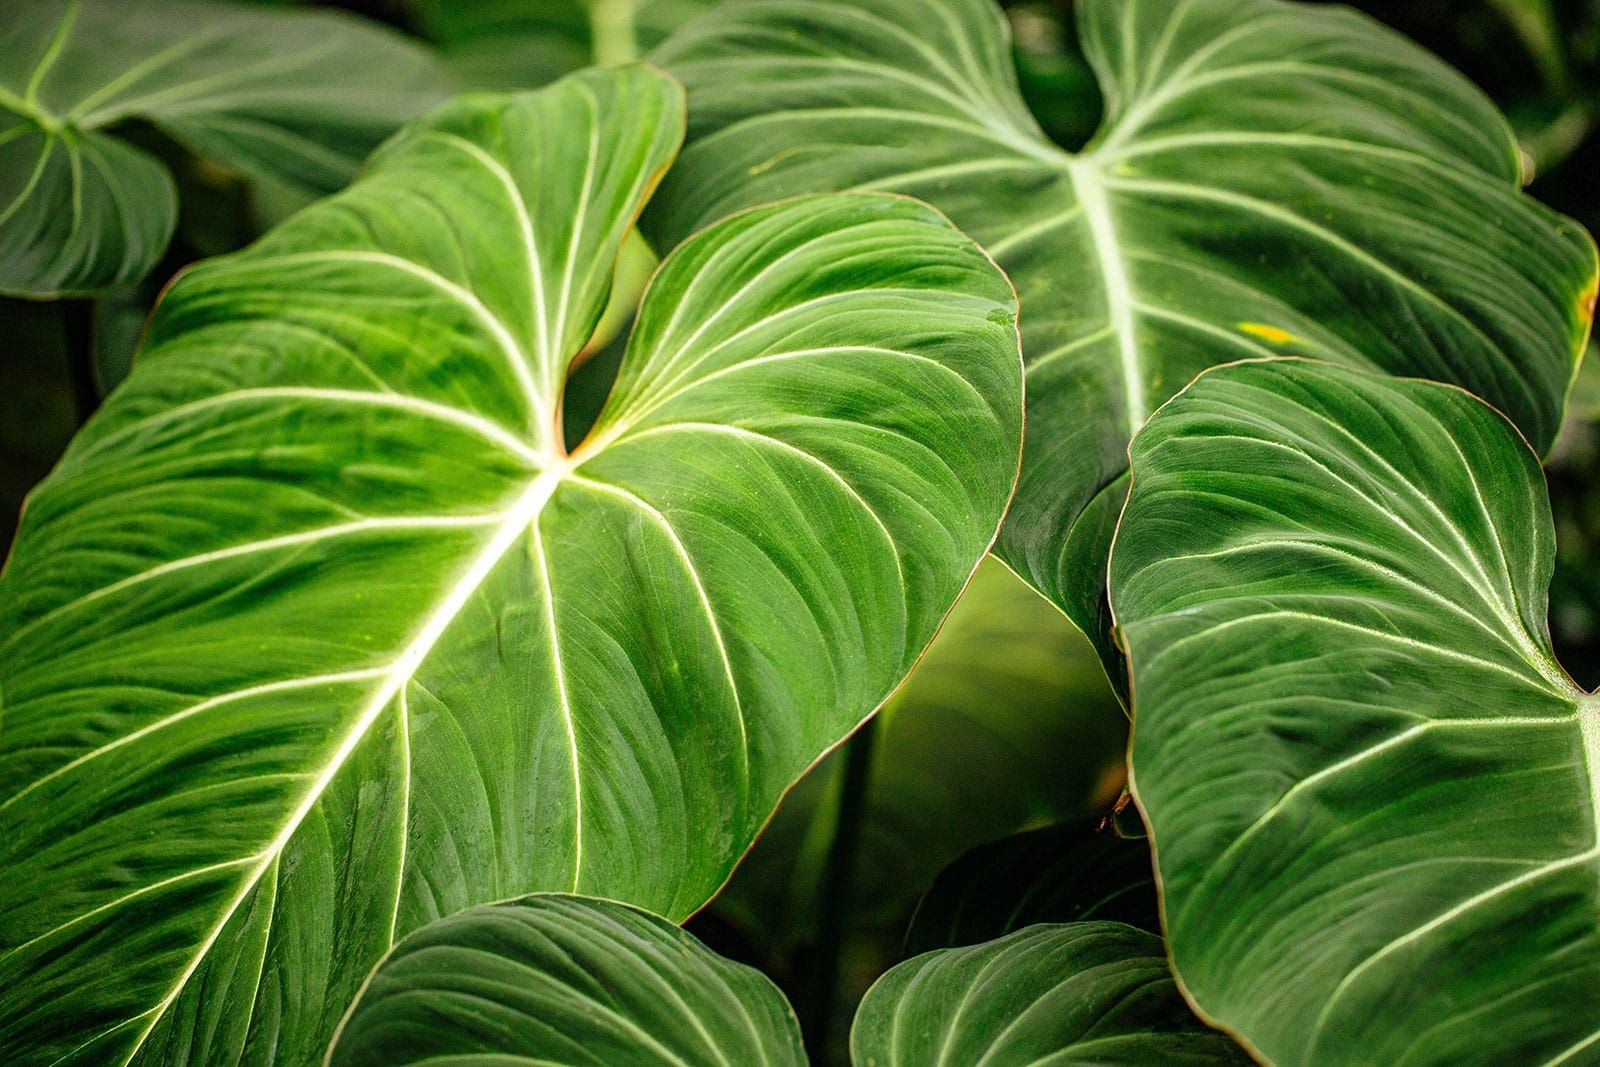
Philodendron Melanochrysum is not only pleasing to the touch—the very thick velvet textures that it leaves are also quite intricate. The leaf surface is made up of thousands of microscopic trichomes causing light-scattering effects that give it the desired suede-like surface. In areas where humidity levels drop below optimal levels, such trichomes flatten out and lose their dimensionality to form an unvibrant gray look that maddens many a gardener.
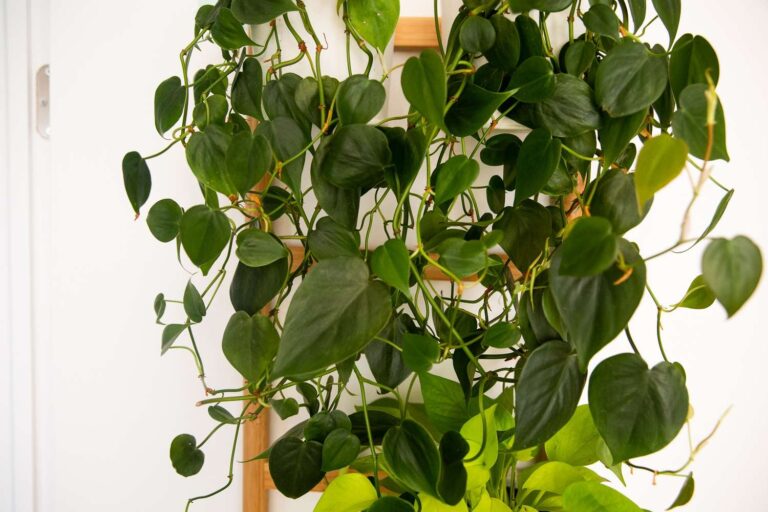
Studies show climbing philodendrons with well-supported vertical climbs grow leaves 300–500% bigger than leaves without such supportive stems. When left unaided, heart-leaf philodendron leaves generally grow 10-20 cm, but when supported, may reach 30+ cm. This drastic size increase correlates strongly with increased velvet texture development since larger leaves have better area available for trichome distribution.
The mechanism for velvet conservation involves limiting certain shades of humidity across the surfaces of leaves. Transpiration rates become increased exponentially as ambient humidity declines below 60% and cellular dehydration ensues, producing irreversible damage to trichome structures. On the other hand, humidity above 80% provides stagnant conditions for bacterial colonization and that is the characteristic dark spots that mar velvet perfection.
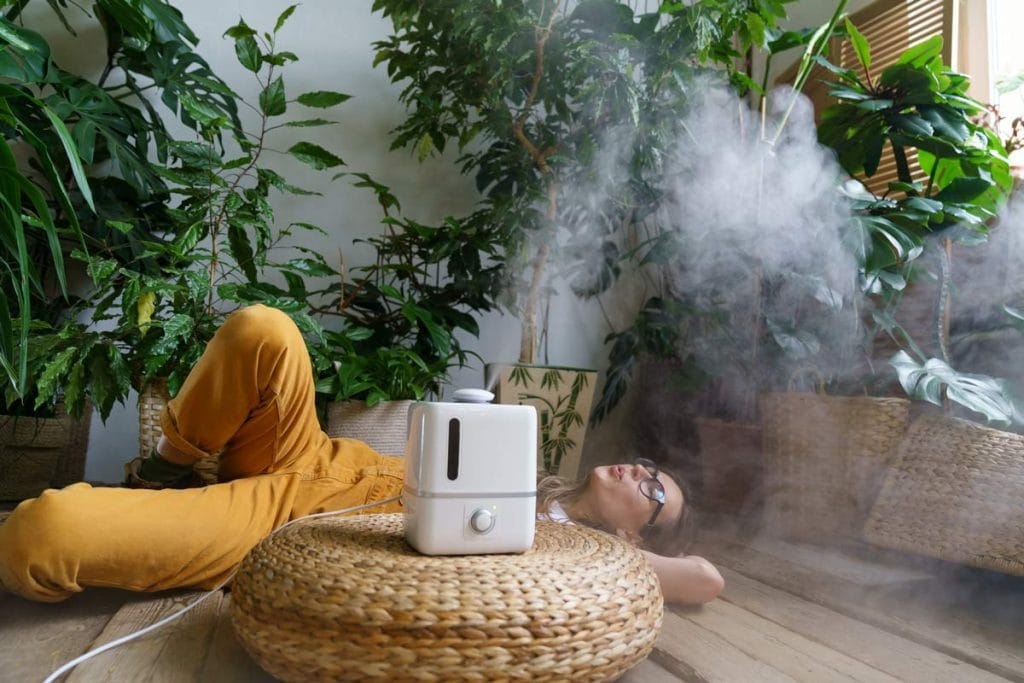
Precision Humidity Control: The 60-80% Sweet Spot
The same 60-80% humidity requires more than misting just once in a while; you have to do it systematically, mirroring the plant’s native Andean foothill. But the challenge is to design microclimates that are responsive to variations in context while maximizing moisture accuracy.
Innovations for Optimizing Humidity
Digital hygrometer should be installed above, not at, each perch because humidity has layers to it and it varies in inches. Good setups will have natural humidity of around 75% in the morning and 65% or more in the afternoon. This daily rise of 10% has the same natural characteristic of rainforest cycles and favors robust trichome growth.
Make humidity reservoirs with expanded clay pebbles (LECA) in decorative trays under plants. The porous structure with 400% more surface area than traditional pebble trays also increases the evaporation rate by 60-80%, allowing the mosquito-prey to avoid breeding. Keep pot bottoms 2-3 inches above water levels to stop capillary action that results in root rot.
Grouping plants with a purpose will increase humidity via collective transpiration. Place three to five specimens that are sensitive to humidity within 24 inches and create a living humidity dome maintaining 5-8% higher moisture than isolated plant. Overcrowding restricts air circulation and leads to disease.
Aerial Root Architecture: Building the Perfect Support
Aerial roots act as anchors and moisture absorbers, containing tissue called velamen which behaves like botanical paper towels. They can soak up moisture from the air within 30 seconds of being exposed and thus are important for texture control of velvet. Poor airborne root management has caused the one largest deterioration in texture in cultivated specimens.
Professional Aerial Root Care Strategy
Use moss poles made from fresh sphagnum moss not dried plants. Living moss retains 85-90% water content, giving aerial roots a thirst-supplying moisture. Wrap poles with monofilament fishing line every 3-4 inches and create horizontal grooves that will guide connections between poles and ground topology, making the roots adhere firmly to them yet avoid slipping and sliding but not over- or backward without preventing their sliding on top.
Place aerial roots with great care by gently wrapping them around the surfaces of moss poles without penetration by planting aerial roots gently. Natural root movement is in agreement with gravity and moisture gradients and artificial positioning can distort growth hormones, decrease attachment rates by 40-60%. Allow 2-3 weeks for early attachment followed by more support.
Maintain moist moss poles with gravity-fed irrigation: fill a reservoir container about 6-8 inches above the pole with water, then allow it to drip through surgical tubing directly into the center of the pole. It provides constant moisture and does not cause water leaks, causing root rot up to 75% lower than manual watering.
Advanced Climbing Support Engineering
A delicate transition between juvenile and grown foliage, represented by rapid increase in size, velvet texture, maturity, and complexity of leaves, results in complex support architecture for rapid development of vertical and leaf position at the same time.
Engineering Specifications for Maximum Growth
Support with 2-inch PVC pipe wrapped in coconut coir matting, providing 15-20X more area than with a moss pole. The rough surface facilitates root penetration for the air, the hollow part also allows for internal washing systems. Height should exceed the expected growth by 30%, typically requiring 4-6 foot supports for mature specimens.
Install adjustable mounting brackets that enable 360-degree rotation every 30 days. This protects against phototropic bending, which results in non-uniform growth and decreases velvet quality from shady leaf surfaces. Other researches have found that when rotating plants, their trichome distribution is 25% more regular than in static positions.
Put graduated support spacing: position starters every 6 inches for juveniles with first tie, up to 12 inches intervals for older plants when stems thicken. Over-restrictive support, in this case, constrictive support results in vascular constriction, thereby the size of the leaves decrease 30–40% and leaves do not appear to develop velvet texture on affected foliage.
Leaf Problem Diagnostics: Identifying Issues Through Texture and Color
Velvet texture deterioration is characterized by visual and touch based cues hinting at environmental misalignment. Knowing these patterns allows corrective action to happen quickly before irreversible damage takes place.
Common Texture Disorders: A Manual Approach
Mechanical Tearing: When new leaves begin breaking apart, they often split longitudinally, suggesting a lack of humidity during crucial expansion periods. Keep the humidity 75-80% during growing times, especially when new leaves grow out of a bunch of cataphylls. Set up temporary humidity domes in clear plastic bags with stakes to maintain humidity in the microenvironments 85-90% moisture.
Bacterial Spotting: Oblique, irregular lesions accompanied by yellow halos indicate bacterial infections worsened by high humidity. Treat humidity immediately to 60-65% and improve air circulation with small fans and no overhead watering. Prevent usage of copper-based bactericides preventively during high-risk seasons, usually in the summer, when temperatures are over 78°F.
Trichome Collapse: Soft texture disappearing with patches of glistening that mean the cell has dehydration. This happens when humidity changes are more than 15% in a 24-hour period. Install humidity controllers (±5% variance) or use humidity control that keeps this constant or multiple humidifiers operating in cycles that provide for a ±5% variance or alternating cycles; prevent dramatic swings with ±5% variation or multiple different humidifiers in use.
Edema Blistering: Corky, small bumps on leaf undersides due to rapid take-up of water in high humidity/low light conditions lead to edema because of increased water absorption in high humidity and low light. Avoid watering with watering frequency reduced by as much as 40% during cloudy periods; reduce humidity below 75% when light levels drop below 200 foot-candles, and ensure proper drainage to prevent root zone saturation.
Year-Round Velvet Maintenance: Seasonal Optimization
Every year, environmental requirements shift drastically along seasonal changes when it comes to environmental conditions, needing changes to be taken into account to maintain optimal growth conditions across the annual cycle.
Spring Activation Protocol
Gradually increase the humidity period from winter (50-60%) to 65-75% over 2-3 weeks. Fertilizing is started every 14 days with quarter-strength balanced fertilizer, which grows faster and will be increased to full strength as it matures.
Peak Summer Management
Keep a close eye on temperature-humidity relationship: when the temperature goes over 82°F, reduce humidity to 60-65% to avoid heat stress and keep the velvet quality. Use of shade cloth: 30-40% shade cloth to be used during peak afternoon sun, filtering light and preventing photoinhibition which inhibits trichome formation.
Autumn Transition
Reduce fertilization by 50% starting 8 weeks before the first frost date. This provides plants with an opportunity to naturally slow growth, so that tender new leaves—which can’t survive winter—are minimized. Keep humidity at 65-70% until domestic heating sources are in place and reduce to 55-60% due to generally drier winter air.
Winter Dormancy Optimization
Add supplementary lighting for 12 to 14-hour photoperiods with full spectrum LEDs installed 18 to 24 inches above foliage. Keep temperature above 65°F and reduce watering frequency by 30-40%. Accept marginal drop in velvet quality in winter months for a healthy plant to return quality in the spring.
Professional Propagation: Preserving Velvet Genetics
Propagation to maintain velvet texture requires specific methods that conserve genetic features while maintaining firm roots in a manner that is favorable for further growth.
Selecting and Preparing Cuttings
Choose stem sections which show ideal velvet, usually mid-stem segments from actively growing vines. Avoid basal sections that might show juvenile foliage growth or apical areas where auxin is high, and roots poorly. Perfect cuttings are 2-3 nodes with fully expanded leaves showing optimal velvet.
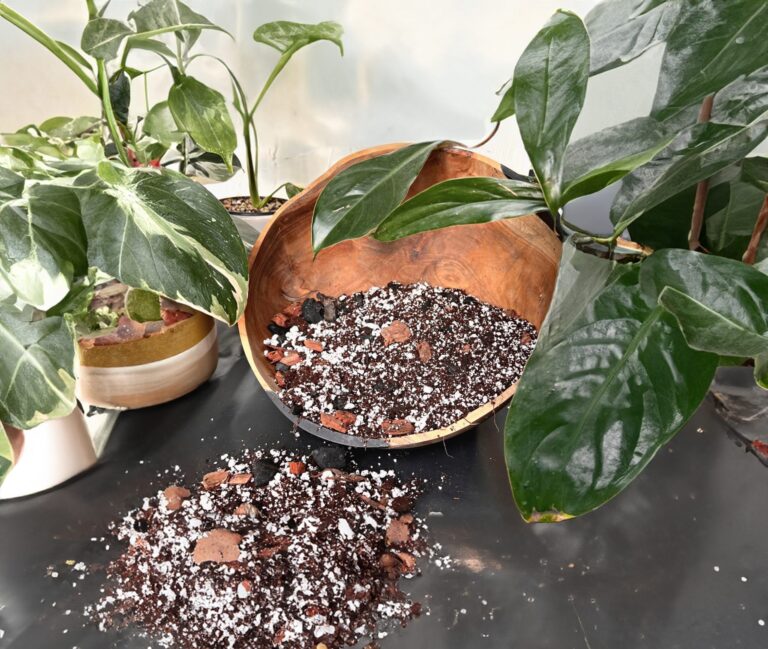
Root cuttings in sphagnum moss/perlite mixtures (1:1 ratio) and not water. This gives 15-20x more oxygen to young roots, without causing permanent damage to trichomes and retains the moisture. Water rooting creates weak roots that fail to form in soil and cause 40-60% mortality.
Optimal Propagation Conditions
Keep the propagation environment at 75-80% humidity with bottom heat at 78 to 82°F root zone temperatures. They increase root rate by 200-300% relative to ambient conditions and protect the velvet texture on parent foliage during rooting to facilitate root spreading.
Apply specialized rooting compounds containing IBA (indole-3-butyric acid) at 0.3-0.5% concentration, and avoid higher concentrations that would induce hormonal imbalances affecting leaf growth. Dip cut ends for 5 to 7 seconds max—long exposure reduces success rates by 25 to 30%.
Advanced Troubleshooting: Restoring Lost Velvet Texture
Most ordinary interventions will not restore velvet texture and as such, physiological disorders will require sophisticated diagnostics and tailored solutions.
Complex Diagnostic Framework
Measure photosynthetic productivity using handheld chlorophyll meters in tissue analysis. Velvet texture loss correlates significantly with chlorophyll concentrations below 35 SPAD units. Support underlying nutrient deficiencies—especially magnesium and iron—by applying foliar feeds with 0.1% solutions in early morning to allow maximum absorption.
Water quality testing is done using TDS (total dissolved solids) meters; if mineral content is more than 150 ppm, microscopic salt accumulation affects trichome structures. If municipal water is above 100 ppm TDS, install reverse osmosis devices or use rainwater for irrigation.
Conduct smoke tests on air circulation patterns or disperse fine powder. Stagnant air pockets create microclimates above 85% humidity, enabling bacteria to grow and destroy velvet texture. Install 5-10 CFM circulation fans to achieve modest air movement while preserving leaf integrity and preventing mechanical damage to foliage.
Multi-Phase Restoration Program
Phase 1 (Days 1-14): Stabilize the environment with humidity ranging from 70-72% with ±3% variance. Remove all affected foliage using sterile techniques, as damaged leaves cannot recover velvet texture and serve as infection sources. Apply preventive copper-based fungicide every 7 days.
Phase 2 (Days 15-45): Implement intensive feeding protocols using quarter-strength fertilizer solutions applied twice weekly, focusing on micronutrient supplementation—especially silicon compounds that strengthen cell walls and enhance trichome development. Maintain consistent moisture levels without waterlogging.
Phase 3 (Days 46-90): Gradually reduce intervention intensity while monitoring new growth. New leaves should exhibit 80-90% of optimal velvet quality if protocols succeed. Adjust humidity downward to 65-70% as texture improves, preventing bacterial issues associated with sustained high humidity.
Document recovery progress through weekly photography under consistent lighting conditions. Objective measurement using texture analysis software provides quantitative assessment of improvement rates, typically achieving 5-8% texture quality increases weekly during active phases.
Key Sources:
Philodendron melanochrysum – Plant Care 101 | Gardenia
How to Grow and Care for Philodendron Melanochrysum | The Spruce
Philodendron Melanochrysum Care Guide | By Brittany Goldwyn
Philodendron Melanochrysum: Complete Care Guide | The Regular Plant Co
Philodendron Melanochrysum Care | Plant Vault
Philodendron Melanochrysum Care Hacks | Greg App
Philodendron Melanochrysum Humidity Requirements | Reddit
Philodendron Melanochrysum Propagation | Iowa State Extension